How to Set Up Visual Studio Code
This guide will show you how to download and install Visual Studio Code on your Windows computer.
Step 1: Download Visual Studio Code
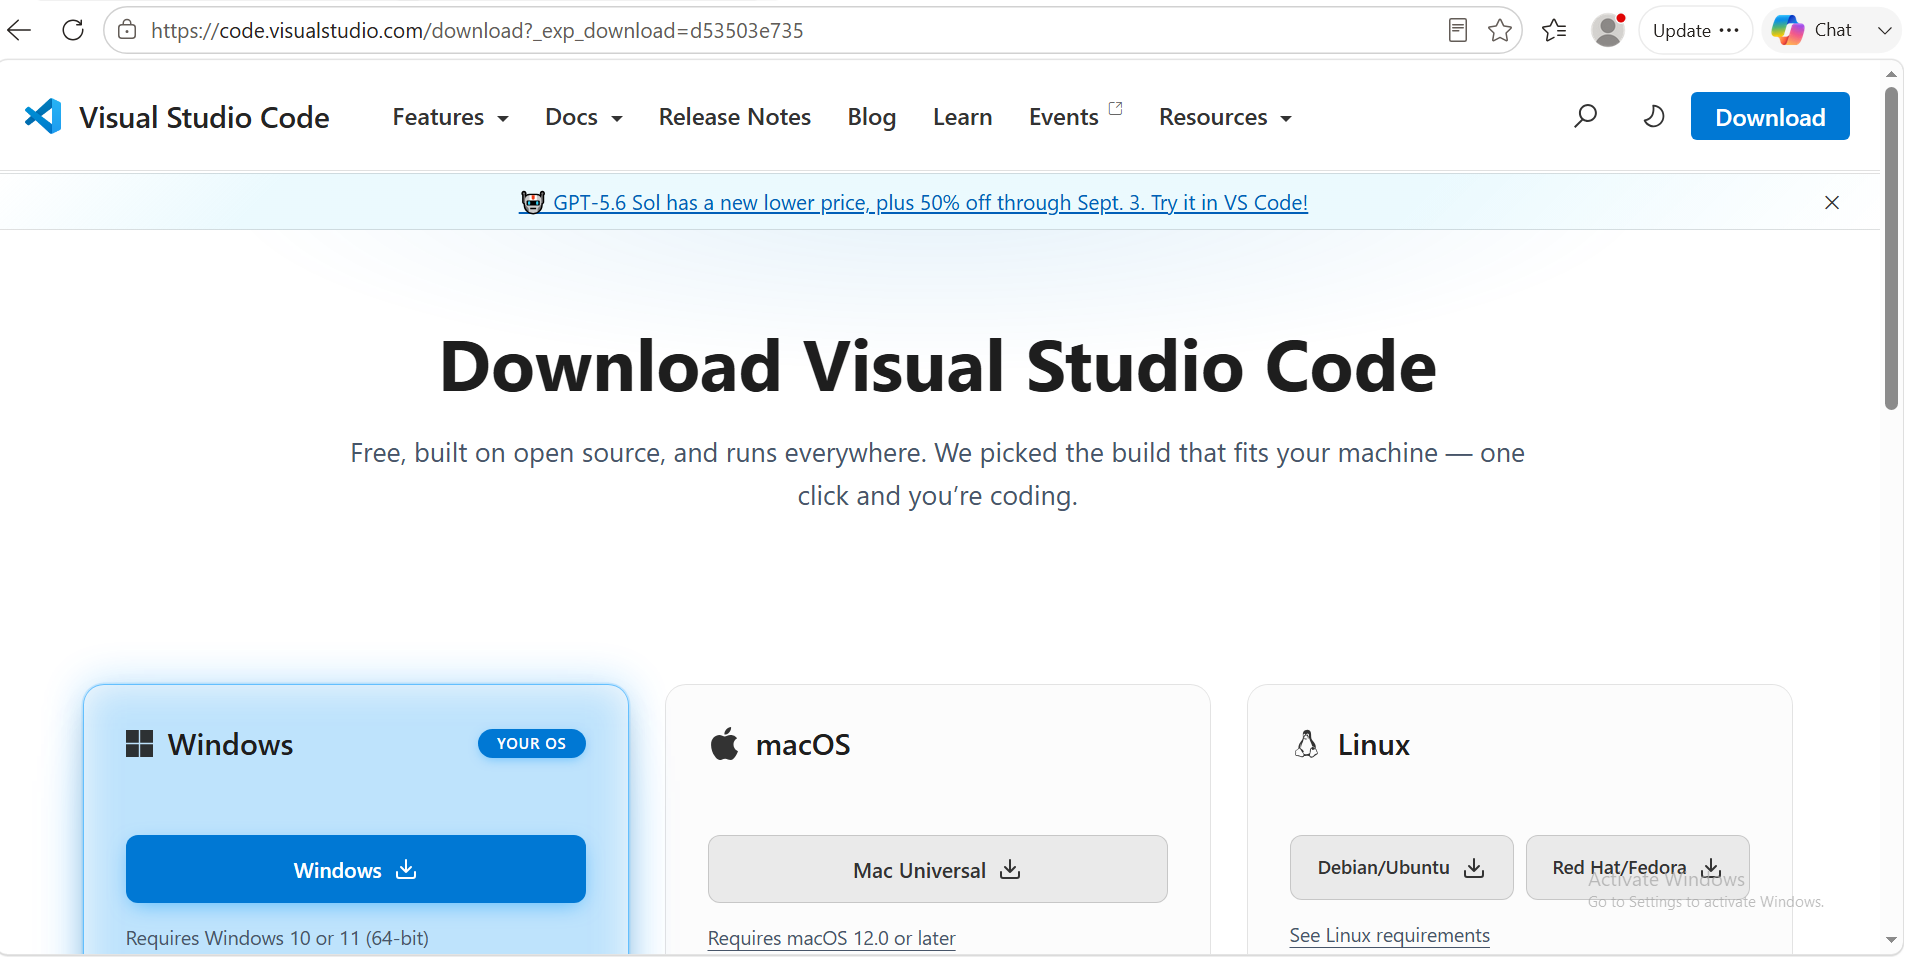
Head over to the official Visual Studio Code website:
Download Visual Studio Code - Free AI Code Editor for Mac, Linux, Windows
Step 2: Download the Windows Version
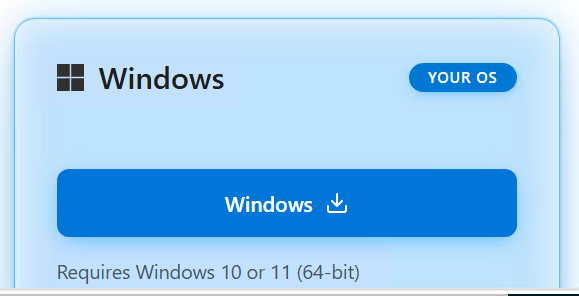
On the download page, find the Windows section.
Click the Windows download button to download Visual Studio Code.
Step 3: Open the Installer
Once the download has finished, open your Downloads folder.
Double-click the Visual Studio Code installer to start the installation.
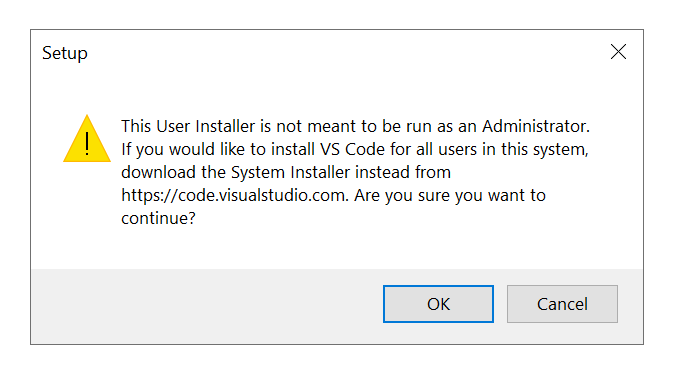
A window may pop up asking for permission to run the installer.
Click Yes or OK to continue.
Step 4: Accept the Agreement
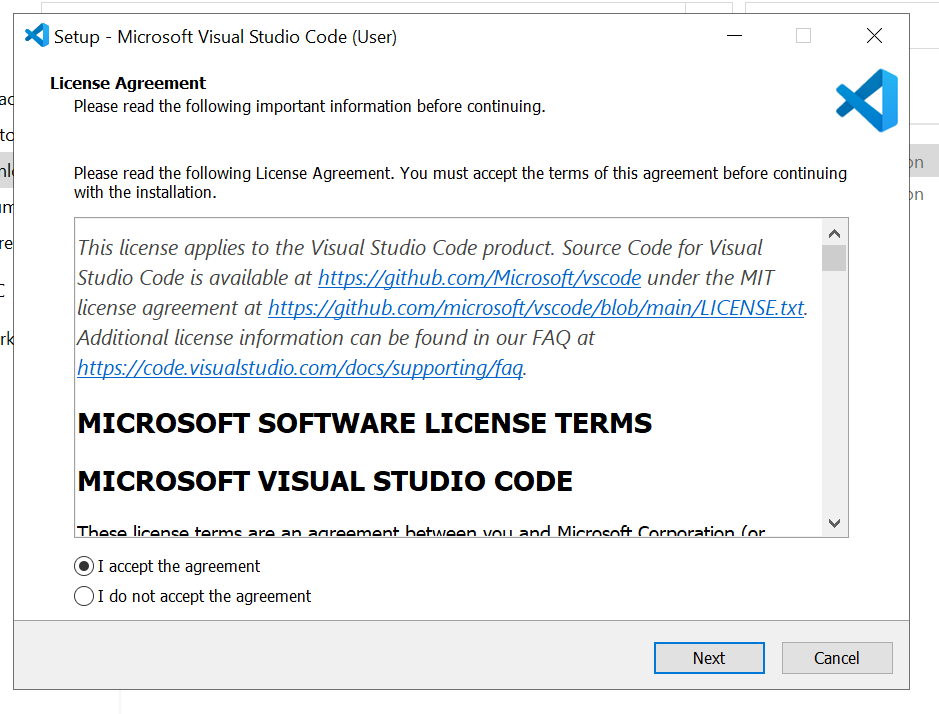
The Visual Studio Code Setup window will now open.
Read through the license agreement and select:
I accept the agreement
Then click Next.
Step 5: Choose the Installation Location
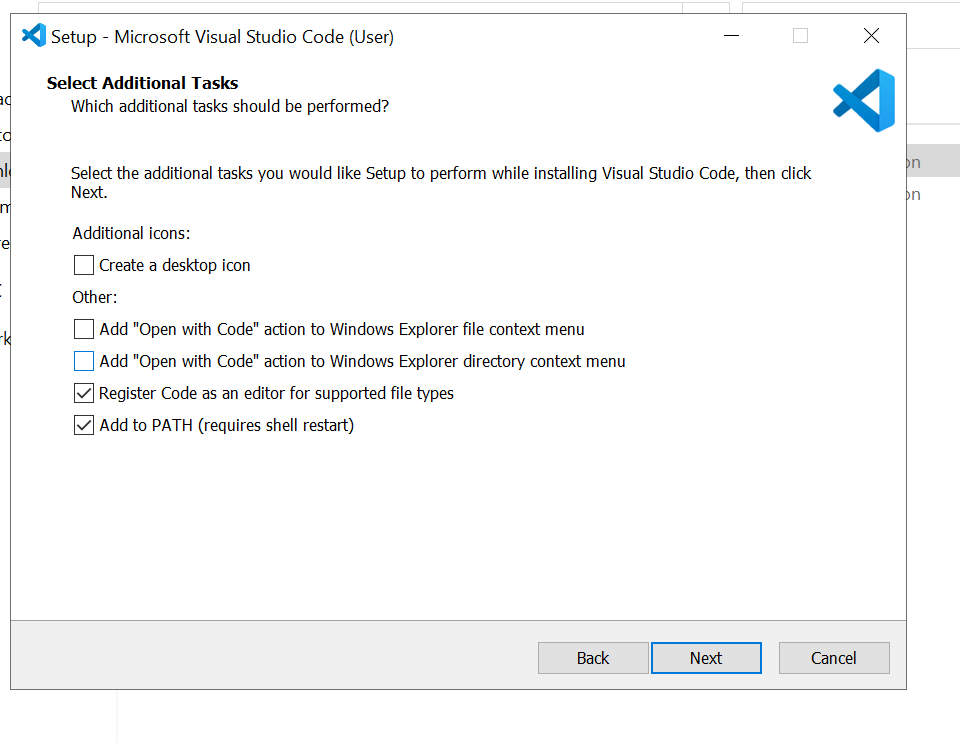
You will now be asked about additional tasks.
You can leave this alone.
Click Next to continue.
Step 6: Install Visual Studio Code
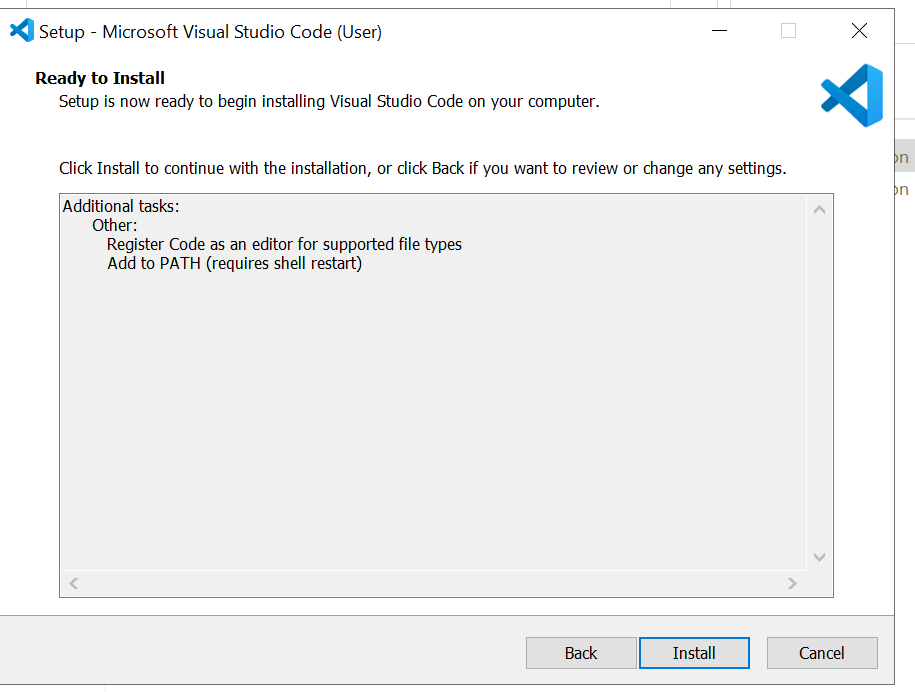
Continue through the setup options until you reach the installation screen.
Click Install to begin installing Visual Studio Code.
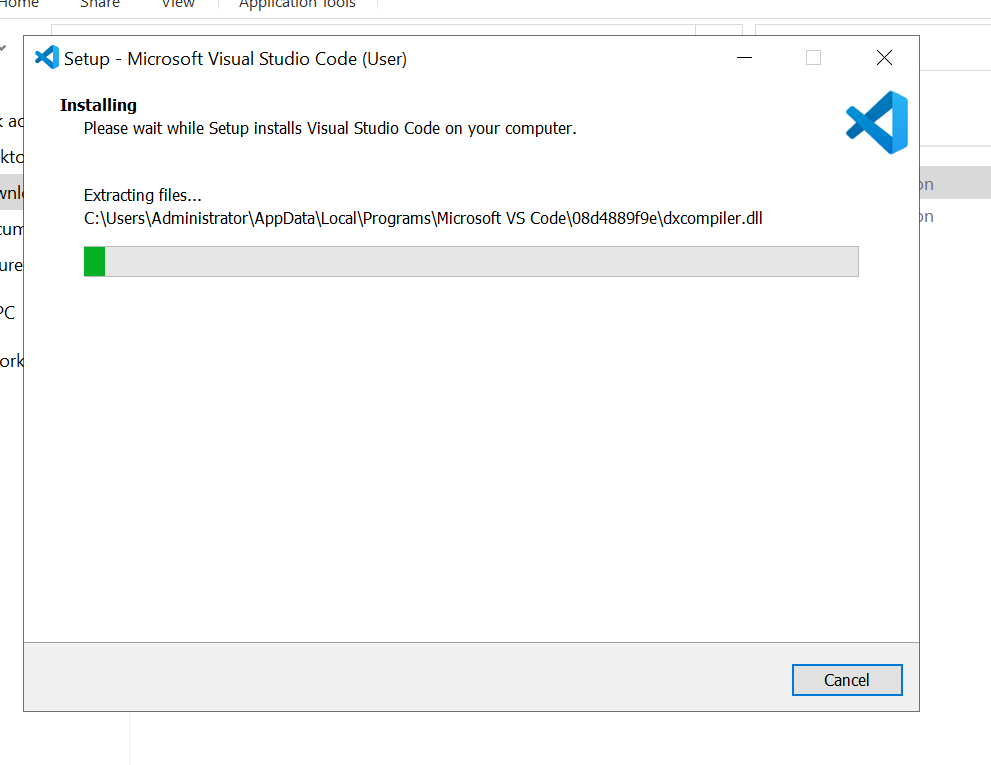
The installation window will appear while Visual Studio Code is being installed.
Wait for the installation to finish.
Step 7: Finish the Installation
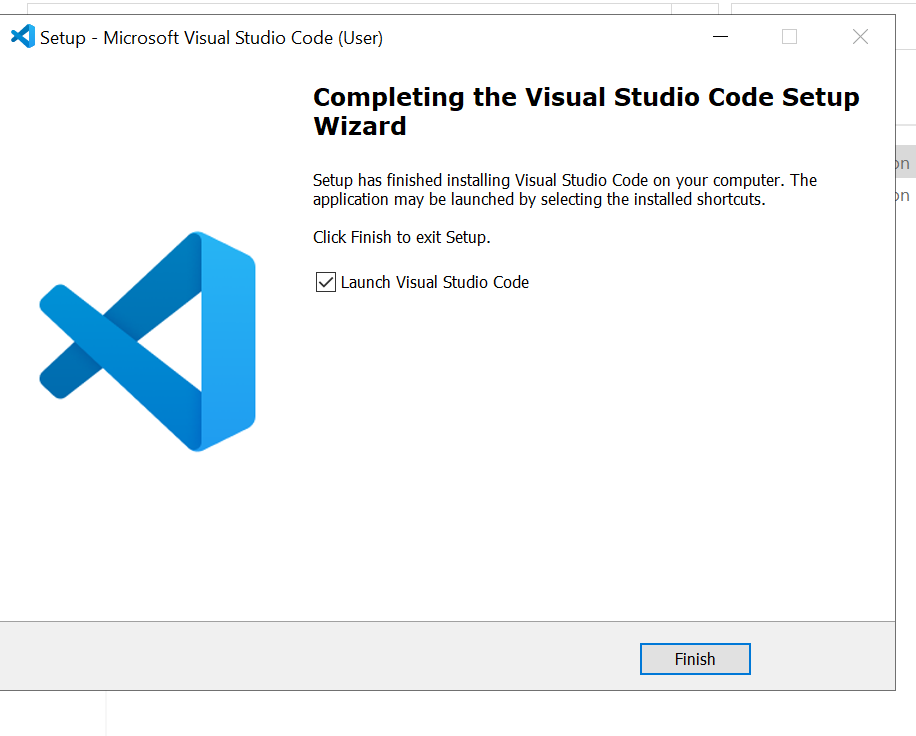
Once the installation has finished, click Finish.
Visual Studio Code is now installed and ready to use!
Finished!
You have now successfully installed Visual Studio Code on your computer.
You can now use Visual Studio Code to edit code, scripts, configuration files, HTML, CSS, JavaScript, Lua, C#, and more.
Need Help?
For assistance, you can:
Join our Discord support server: https://discord.gg/JwnumEWEq6
Or log in to the Client Area - CloudStrikeHosting and open a support ticket.
Whether you have questions about your VPS, need help troubleshooting, or need assistance with your account, we're happy to help get you up and running as quickly as possible